Are you ready to dive into the world of CSS? Whether you’re a web developer, designer, or simply someone interested in building beautiful and functional websites, learning CSS is an essential skill to have. In this tutorial, we will cover the basics of CSS and provide you with the knowledge and tools you need to start styling web pages like a pro.
Elevate your software engineering skills without any subscription required!
Starting with CSS: The Basics
Before we get into the nitty-gritty of CSS, let’s start with the basics. CSS, which stands for Cascading Style Sheets, is a style sheet language used to describe the look and formatting of a document written in HTML. It allows you to control the appearance of web pages and create visually appealing designs.
To begin, you’ll need a basic understanding of HTML. HTML provides the structure and content of a web page, while CSS adds the style and presentation. If you’re new to HTML, we recommend familiarizing yourself with the basics before diving into CSS.
Once you have a solid grasp of HTML, you can start learning CSS syntax. CSS syntax consists of selectors, properties, and values. Selectors target specific HTML elements, properties define the style rules, and values specify the desired appearance.
CSS Selectors, Properties, and Values
Selectors are the key to targeting specific HTML elements and applying styles to them. There are various types of selectors, including element selectors, class selectors, ID selectors, and more. Understanding how to use selectors effectively is crucial for styling your web pages.
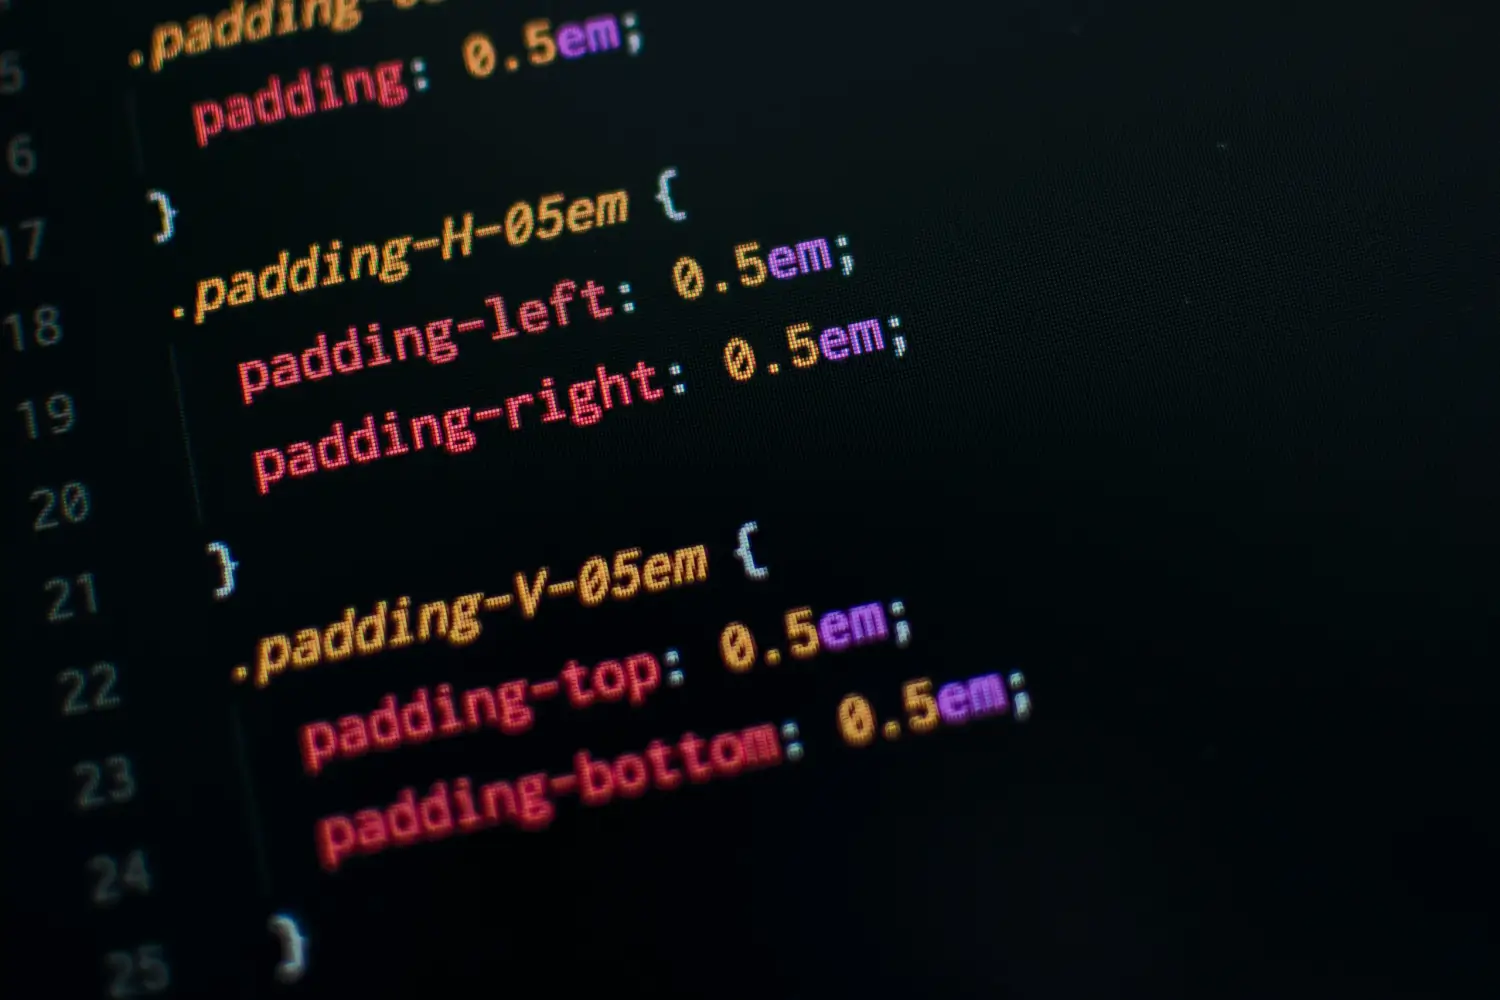
Properties define the style rules for the selected elements. CSS properties control everything from font styles and colors to margins and padding. By combining different properties, you can achieve the desired look and feel for your web pages.
Values determine the specific appearance of the properties. For example, the “color” property can have values like “red,” “blue,” or “#000000” (which represents black). Experimenting with different values will help you understand how they affect the overall design.
The Box Model and Layout Techniques
Understanding the box model is essential for controlling the layout and spacing of elements on a web page. The box model consists of four components: content, padding, border, and margin. By manipulating these components, you can create visually appealing and well-structured layouts.
+-------------------------------------------+
|                 MARGIN                    |
|   +-----------------------------------+   |
|   |              BORDER               |   |
|   |   +---------------------------+   |   |
|   |   |         PADDING           |   |   |
|   |   |   +-------------------+   |   |   |
|   |   |   |     CONTENT       |   |   |   |
|   |   |   |                   |   |   |   |
|   |   |   +-------------------+   |   |   |
|   |   |                           |   |   |
|   |   +---------------------------+   |   |
|   |                                   |   |
|   +-----------------------------------+   |
|                                           |
+-------------------------------------------+
Explanation:
- Margin: This space is outside the border, separating the element from other elements in the layout.
- Border: Surrounds the padding and content; visually you can style it with color, width, and pattern.
- Padding: This space is inside the border, creating separation between the content and the border.
- Content: This is the area where your text, images, and other elements are displayed.
Each layer encapsulates the one inside it, starting from the content out to the margin. Adjustments to each area can affect the overall dimensions of the element as it appears on the web page.
Layout techniques play a crucial role in creating responsive designs. Responsive design ensures that your web pages look great on different devices and screen sizes. CSS provides various layout techniques, such as flexbox and grid, that allow you to create responsive and dynamic layouts.
Would you like to get engaged with professional Specialists?
We are a software development team with extensive development experience in the Hybrid and Crossplatform Applications development space. Let’s discuss your needs and requirements to find your best fit.
Best Practices for Clean and Efficient CSS Code
As you dive deeper into CSS, it’s important to follow best practices for writing clean and efficient code. Writing clean code not only improves readability but also makes it easier to maintain and update your stylesheets in the future.
Here are a few best practices to keep in mind:
- Use meaningful class and ID names to make your code more understandable.
- Avoid using inline styles and instead, use external CSS files.
- Organize your CSS code by grouping related styles together.
- Comment your code to provide explanations and make it easier for others (and yourself) to understand.
- Minify your CSS files for faster loading times.
This tutorial demonstrates how to style a product card using CSS. The card will have an image, title, price, and a button. We’ll use meaningful class names and external styles for better readability and maintainability.
HTML Structure:
<!DOCTYPE html>
<html lang="en">
<head>
  <meta charset="UTF-8">
  <meta name="viewport" content="width=device-width, initial-scale=1.0">
  <title>Product Card</title>
  <link rel="stylesheet" href="style.css">
</head>
<body>
  <div class="product-card">
    <img src="product.jpg" alt="Product Image">
    <h3 class="product-title">Cool Gadget</h3>
    <p class="product-price">$49.99</p>
    <button class="product-button">Add to Cart</button>
  </div>
</body>
</html>
CSS Style Sheet (style.css):
/* Basic Styles */
body {
  font-family: Arial, sans-serif;
  margin: 0;
  padding: 20px;
}

/* Product Card Styles */
.product-card {
  background-color: #f5f5f5;
  border-radius: 5px;
  box-shadow: 0 2px 5px rgba(0, 0, 0, 0.1);
  width: 300px;
  margin: 0 auto; /* Center the card horizontally */
  padding: 20px;
  display: flex; /* Use flexbox for layout */
  flex-direction: column; /* Stack elements vertically */
}

.product-card img {
  width: 100%; /* Make image fill the card width */
  margin-bottom: 15px;
}

.product-title {
  font-size: 20px;
  margin-bottom: 10px;
}

.product-price {
  font-weight: bold;
  margin-bottom: 15px;
}

.product-button {
  background-color: #007bff;
  color: #fff;
  padding: 10px 20px;
  border: none;
  border-radius: 3px;
  cursor: pointer; /* Indicate clickable button */
}
Explanation:
- Meaningful Class Names: We use descriptive class names like
product-card,product-title, etc., for better code understanding. - External CSS: We link the
style.cssfile in the HTML head for cleaner separation of concerns. - Organized Styles: Styles are grouped under relevant sections like
Basic StylesandProduct Card Styles. - Comments: Comments explain the purpose of each style block and properties.
This is a basic example, but it demonstrates using meaningful class names, external styles, and code organization for better CSS practices. You can further customize the styles for fonts, colors, and layout using additional CSS properties.
Dedicated Full Stack Developers
Hiring Full Stack developers gives businesses access to pros proficient in various technologies and frameworks. Their versatility streamlines collaboration, leading to faster development and enhanced efficiency.
Additional Resources and Tools
Learning CSS is an ongoing journey, and there are plenty of resources and tools available to help you along the way. Here are a few resources to explore:
- W3Schools CSS Tutorial: A comprehensive tutorial covering all aspects of CSS.
- MDN Web Docs – CSS: A reliable and detailed reference for CSS.
- CodePen: An online code editor where you can experiment with CSS and see the results in real-time.
- Canva Color Combinations: A tool to help you choose color combinations for your designs.
Remember, practice makes perfect! The more you practice and experiment with CSS, the more confident you’ll become in your skills. So don’t be afraid to try new things and push the boundaries of your creativity.
Start your CSS journey today and unlock the power to create stunning web designs!